


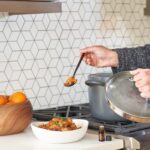


Starting a small herb garden indoors is a rewarding and practical way to bring freshness to your kitchen and add flavor to your meals. Whether you have a sunny windowsill, a small balcony, or just a tabletop, growing herbs indoors is easier than you might think. This guide will walk you through everything you need to know to get started and maintain a healthy herb garden at home.
Why Grow Herbs Indoors?
Growing herbs indoors offers several benefits:
– Freshness: You can harvest herbs whenever you need them for cooking.
– Convenience: Herbs are right at your fingertips, saving trips to the store.
– Year-round growth: Indoor conditions allow you to grow herbs through all seasons.
– Decorative: Herb plants add greenery and a pleasant aroma to your living space.
– Cost-effective: Growing herbs at home can save money over time.
Choosing the Right Herbs for Indoor Gardening
Not all herbs thrive indoors equally. When selecting herbs, consider those that adapt well to indoor conditions:
– Basil: Loves warmth and sunlight, perfect for sunny kitchen windows.
– Parsley: Tolerates moderate light, easy for beginners.
– Chives: Requires bright light and regular watering.
– Mint: Grows quickly and tolerates lower light, but can spread fast.
– Thyme: Needs plenty of sunlight and well-draining soil.
– Oregano: Prefers bright light and moderate watering.
– Cilantro: Likes bright light and cooler temperatures.
For a beginner-friendly garden, start with 3-4 herbs that suit your light availability and culinary preferences.
What You’ll Need to Get Started
Before planting, gather these basic supplies:
– Containers: Small pots or containers with drainage holes.
– Potting soil: Use a lightweight, well-draining potting mix, not garden soil.
– Herb seeds or starter plants: Choose depending on your preference and experience.
– Watering can or spray bottle: For gentle and consistent watering.
– A sunny spot: A south-facing window or grow lights.
– Labels (optional): To keep track of your herbs.
Step-by-Step Guide to Starting Your Indoor Herb Garden
1. Select the Right Location
Herbs need good light to grow well indoors. Most herbs prefer at least 6 hours of sunlight daily. Choose a spot like a south or west-facing window where your plants will get plenty of natural light. If natural light is limited, consider using LED grow lights designed for plants.
2. Choose Suitable Containers
Use pots with drainage holes to prevent water from pooling at the bottom and causing root rot. Size matters — pots between 4 to 6 inches in diameter are ideal for most herbs. You can also reuse kitchen containers, just make sure to add holes for proper drainage.
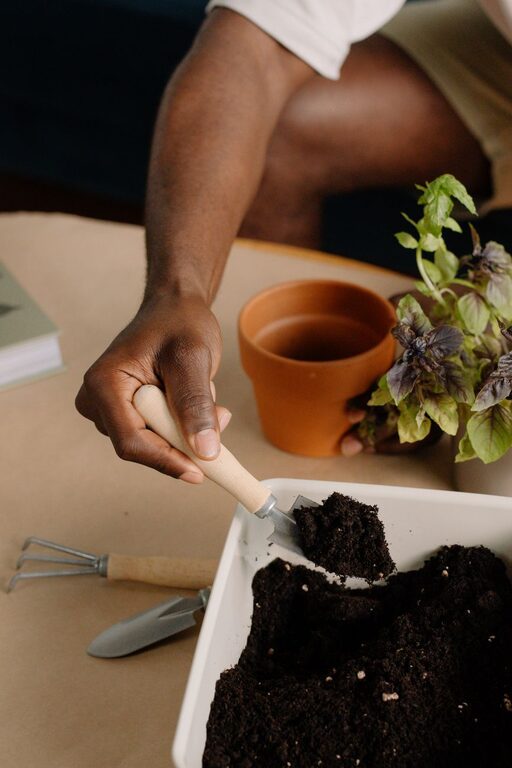
3. Prepare the Soil
Fill your containers with a good-quality potting soil mix designed for indoor plants. Avoid heavy garden soils, which can compact and drain poorly indoors. You can mix in a little perlite or sand to improve drainage if desired.
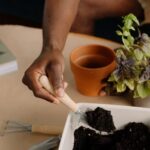
4. Planting Seeds or Starter Plants
If using seeds, follow the instructions on the packet for depth and spacing. Sow the seeds in the soil, cover lightly, and water gently. For starter plants, gently remove them from their nursery pots, loosen the roots, and plant them into your containers with fresh soil.
5. Watering Wisely
Herbs generally like moist but not soggy soil. Water when the top inch of soil feels dry to the touch. Use a watering can with a narrow spout or a spray bottle to avoid disturbing the soil or damaging delicate plants. Avoid overwatering, which can lead to root problems.
6. Provide Proper Light and Temperature
Aim for about 6 hours of light per day. If natural sunlight is not sufficient, supplement with grow lights for 10-12 hours daily. Most herbs prefer temperatures between 65°F and 75°F (18°C – 24°C). Keep them away from cold drafts or direct heat sources.
7. Feeding Your Herbs
Herbs in containers benefit from occasional feeding. Use a balanced, water-soluble fertilizer diluted to half strength every 4-6 weeks. Over-fertilizing can reduce flavor, so less is more.
8. Pruning and Harvesting
Regular trimming encourages bushier growth and prevents herbs from becoming leggy. Pinch off leaves or cut stems just above a leaf node to stimulate new growth. Harvest leaves as needed, but avoid taking more than one-third of the plant at once to keep it healthy.
Common Challenges and How to Fix Them
– Yellowing leaves: Often a sign of overwatering or poor drainage.
– Leggy plants: Usually caused by insufficient light; move plants to a sunnier spot or add grow lights.
– Pests: Indoor herbs can attract aphids or spider mites. Wipe leaves with a damp cloth or use insecticidal soap if needed.
– Slow growth: Check light, watering, and soil quality. Change conditions if necessary.
Tips for Success
– Rotate pots regularly to ensure even growth.
– Use small saucers under pots to catch excess water and protect surfaces.
– Try companion planting by grouping herbs with similar water and light needs.
– Keep a gardening journal to track what works best for your indoor herb garden.
Conclusion
Starting a small herb garden indoors is a simple and enjoyable way to enhance your cooking and brighten your home. With some basic supplies, the right location, and proper care, you’ll soon have fresh herbs ready to harvest anytime. Remember, patience and observation are key — enjoy the process and experiment with different herbs to find your favorites.
Happy gardening!