


Setting up a dedicated charging station for your devices is a simple way to keep your home organized and your electronics ready to use. Whether you have smartphones, tablets, smartwatches, or other gadgets, a charging station can reduce clutter, prevent lost chargers, and streamline your daily routine.
This guide will walk you through the essential steps to create a functional and efficient charging station tailored to your needs.
Why Set Up a Charging Station?
Before diving into the setup process, it’s good to understand the benefits of having a charging station:
– Organization: Keeps cables and devices tidy in one place.
– Convenience: Charges multiple devices simultaneously.
– Safety: Reduces the risk of damaged cords and tripping hazards.
– Aesthetics: Creates a cleaner, more attractive space.
Choosing the Right Location
Consider Accessibility
Pick a spot that everyone in the household can easily access. Common options include:
– Kitchen counters
– Living room side tables
– Home office desks
– Entryway consoles
Check Power Sources
Make sure the location has enough electrical outlets or power strips to handle your devices. If needed, use a surge protector to safeguard your gadgets.
Ensure Ventilation
Devices can generate heat while charging. Choose an open area with good air circulation to help prevent overheating.
Gathering Supplies
To build your charging station, gather the following items:
– A power strip or charging hub with multiple ports
– Charging cables compatible with your devices
– Cable organizers such as clips, ties, or sleeves
– A container or tray to hold devices (optional)
– Labels for cables or ports (optional)
Setting Up Your Charging Station
Step 1: Declutter the Area
Remove unnecessary items from the chosen spot. This will give you enough room to arrange your charging station efficiently.
Step 2: Arrange the Power Source
Place your power strip or charging hub near the wall outlet. If it has a long cord, tuck it neatly to avoid tripping hazards.
Step 3: Connect and Test Charging Cables
Plug in each charging cable into the power strip or hub. Test each cable with its device to ensure proper charging before organizing the cables further.
Step 4: Organize the Cables
Use cable clips or ties to bundle and guide cords so they don’t tangle. You can attach clips along the edge of the table or inside drawers to keep cables accessible but neat.
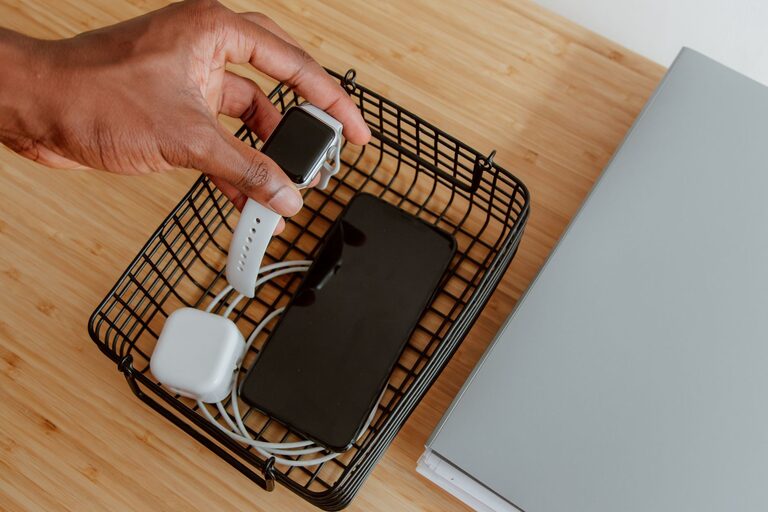
Step 5: Designate Device Slots
Arrange a container, tray, or stand where devices can rest while charging. This keeps the station tidy and devices safe from damage.
Step 6: Label if Needed
If multiple users charge similar devices, consider labeling each cable or charging port. This prevents mix-ups and speeds up the charging process.
Tips for Maintaining Your Charging Station
– Regularly check cables and chargers for wear and replace if damaged.
– Unplug devices once fully charged to save energy.
– Keep the area clean to avoid dust accumulation.
– Update charging accessories as needed to support new devices.
Optional Upgrades
Wireless Charging Pads
If many of your devices support wireless charging, consider integrating wireless pads into your station. This reduces cable clutter even more.
Smart Power Strips
Smart power strips can automatically cut power to devices when they’re fully charged, adding safety and energy savings.
Portable Charging Stations
If you need a flexible setup, there are portable charging stations with batteries that can be moved around without needing a constant power source.
—
By following these steps, you’ll create a convenient and organized charging station that keeps your devices ready and your space neat. It’s a small setup that offers big benefits for everyday life. Happy charging!